
Ever found yourself staring at a pack of screws in the hardware store, wondering which ones are right for your project? Have you ever driven a screw into chipboard only to watch it split or strip before your eyes? Or perhaps you’ve completed a flat-pack assembly only to find wobbly joints that just don’t feel secure?
You’re definitely not alone. Chipboard screws are one of the most commonly used fasteners in furniture assembly, cabinetry, and general woodworking across Australia. Yet, despite their popularity, many DIYers and even some tradies struggle to get the best results from these versatile little fixings. The truth is, understanding how to use chipboard screws properly can make the difference between a rock-solid joint and a frustrating failure.
In this guide, we’ll break down everything you need to know about chipboard screws sydney. From understanding what sets them apart from regular wood screws to selecting the right size for your project, we’ve got you covered. You’ll discover the best installation techniques, learn how to avoid common mistakes, and pick up professional tips that’ll have you working like a seasoned carpenter. Whether you’re tackling a weekend project or working on something more substantial, this guide will help you achieve clean, strong results every time.
What Are Chipboard Screws? Understanding the Basics
Key Features That Set Chipboard Screws Apart
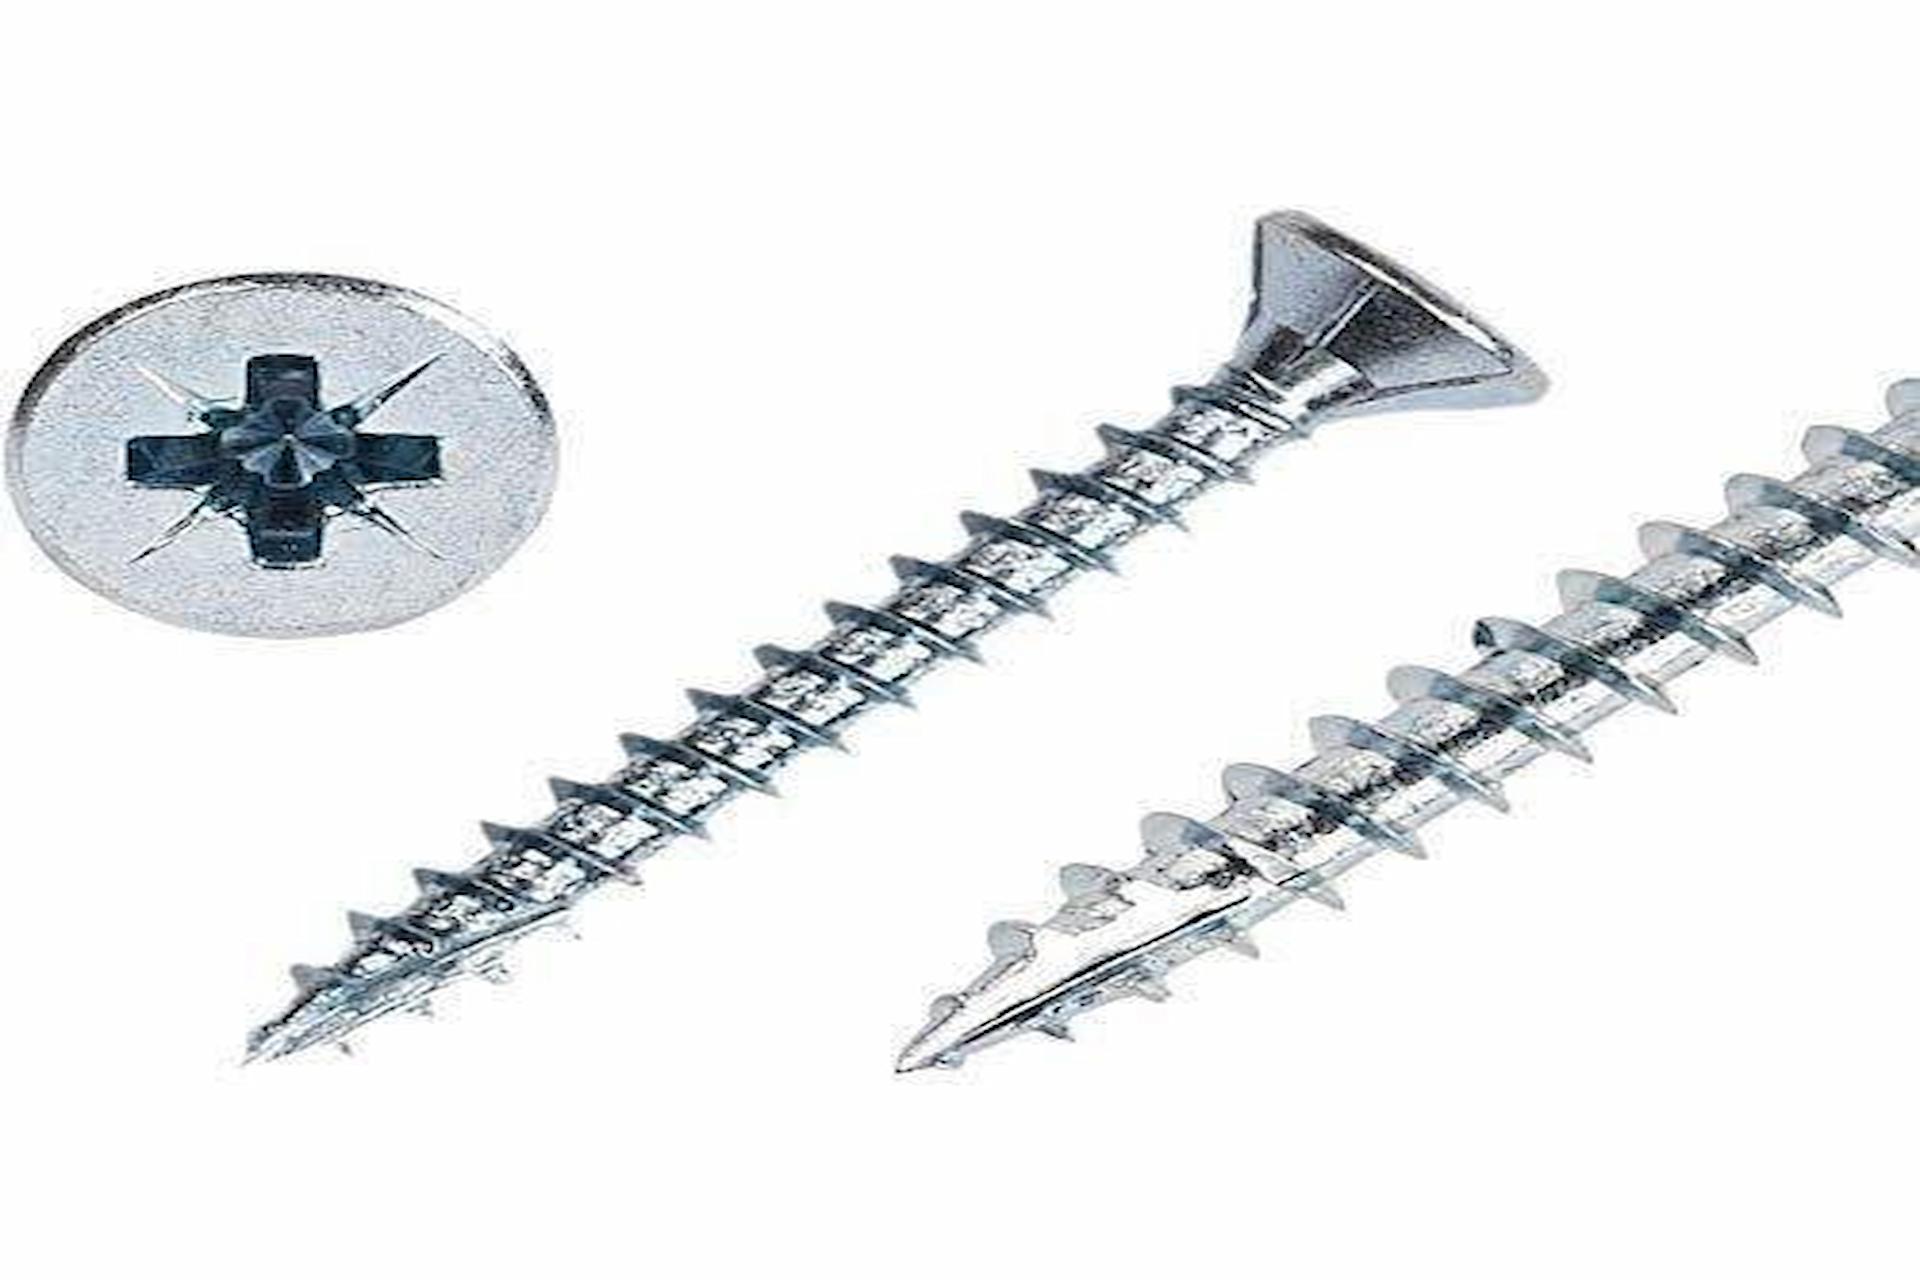
Chipboard screws are specifically designed for use with manufactured boards like particleboard, MDF, and melamine-faced chipboard. Their most distinctive feature is their coarse, aggressive thread pattern that runs along the entire length of the screw shaft. This design allows them to grip effectively in materials that have a relatively loose, granular structure.
Unlike standard screws, chipboard screws typically feature a sharp, self-tapping point that eliminates the need for pre-drilling in many applications. The threads are deeper and more widely spaced than those on traditional wood screws, which helps them bite into the compressed wood particles without creating excessive pressure that could cause splitting.
Chipboard Screws vs Wood Screws: What’s the Difference?
The main difference lies in the thread design and intended application. Wood screws have a tapered shank with threads that cover only part of the length, making them ideal for pulling two pieces of solid timber together. chipboard screws sydney, on the other hand, have parallel shanks with full-length threads that provide maximum holding power in engineered boards.
Wood screws work brilliantly in dense hardwoods and softwoods, while chipboard screws excel in particle-based materials. Using the wrong type can lead to weak joints, splitting, or screws that simply won’t hold. Understanding this distinction is absolutely key to choosing the right fastener for your project.

Types of Chipboard Screws and When to Use Each
Single Thread vs Twin Thread Chipboard Screws
Single thread chipboard screws have one continuous spiral running up the shaft. They’re perfect for general-purpose applications and work well in softer materials where you need good holding power without excessive insertion force.
Twin thread screws feature two parallel spirals, which means they drive in twice as fast with each rotation. These are brilliant for production environments or when you’re installing hundreds of screws. They also provide excellent holding power in denser materials. For most home projects, single thread screws are more than adequate, but twin thread versions can save significant time on larger jobs.
Countersunk vs Pan Head Options
Countersunk screws sit flush with or below the surface when fully driven, creating a neat, professional finish. These are the go-to choice for visible applications where aesthetics matter. Pan head screws, with their rounded tops, sit proud of the surface and are typically used when fixing sheet materials or where the screw head needs to clamp against a washer.
Coated vs Uncoated: Choosing the Right Finish
Zinc-plated or yellow passivated screws offer decent corrosion resistance for interior applications. For outdoor projects or humid environments like bathrooms and laundries, you’ll want screws with more robust coatings such as galvanised or stainless steel options. The extra cost is worth it to avoid rust stains and premature failure.
How to Choose the Right Chipboard Screw Size
Understanding Screw Gauge and Length
Screw gauge refers to the thickness of the screw shaft, while length is measured from the tip to the top of the head for countersunk screws. Common gauges range from 3mm to 6mm in diameter, with lengths spanning 12mm to 100mm or more.
What Size Chipboard Screw Do I Need for My Project?
A good rule of thumb is to select a screw length that’s at least twice the thickness of the top piece you’re fastening. For example, when fixing 18mm chipboard, a 40mm screw provides plenty of thread engagement in the receiving piece. The gauge should match the joint’s strength requirements—thicker screws for structural connections, thinner ones for delicate work.
Matching Screw Size to Material Thickness
When working with standard 18mm chipboard, 3.5mm x 30mm or 4mm x 40mm screws are ideal for most applications. For 25mm boards, step up to 4mm x 50mm. Always make sure you’ve got sufficient thread engagement—at least 25mm penetration into the receiving material for strong joints.
Best Practices for Installing Chipboard Screws
Do You Need to Pre-Drill for Chipboard Screws?
In most cases, no. Quality chipboard screws are designed to be self-drilling. However, pre-drilling becomes important when working close to edges, with very hard boards, or when using larger diameter screws. A pilot hole slightly smaller than the screw’s core diameter prevents splitting and makes driving easier.
Correct Drilling Techniques for Clean Results
Position your drill perpendicular to the work surface and start slowly to establish the screw’s path. Once the threads begin to bite, increase speed gradually. Stop driving just as the head reaches the surface—over-tightening strips the threads and weakens the joint.
Avoiding Common Mistakes That Split the Board
Keep screws at least 25mm from board edges to prevent splitting. Use appropriate torque settings on power drivers, and consider drilling pilot holes for edge fixings. If you notice the board starting to lift or crack, stop immediately and reassess your approach.
Can You Use Chipboard Screws in MDF and Plywood?
Working with MDF: Tips for Success
MDF is denser than standard chipboard, so pre-drilling is often beneficial, especially near edges. Use screws specifically rated for MDF when available, as they typically have finer threads that grip better in this material. Work slowly and avoid over-tightening, as MDF can easily crush around the screw head.
Plywood Applications and Considerations
Plywood’s layered construction makes it more resistant to splitting than chipboard. Chipboard screws work reasonably well in plywood, though wood screws might provide superior holding power in thicker sheets. For structural applications in plywood, consider using longer screws that penetrate multiple layers.
Chipboard Screws for Outdoor Projects
Are Chipboard Screws Suitable for Outdoor Use?
Standard zinc-plated chipboard screws aren’t recommended for outdoor use in Australian conditions. Our climate—with its combination of humidity, salt air in coastal areas, and temperature extremes—quickly corrodes unprotected fasteners. The resulting rust not only weakens the screw but can stain surrounding materials.
Selecting Weather-Resistant Options for Australian Conditions
For outdoor applications, opt for stainless steel chipboard screws or those with specialised outdoor coatings. Class 3 or Class 4 coatings provide excellent protection against the elements. While these cost more upfront, they’ll outlast standard screws many times over in exposed conditions.
Troubleshooting Common Chipboard Screw Problems
Why Do Chipboard Screws Keep Stripping?
Stripping usually occurs from over-tightening or using worn driver bits. Make sure your driver bit fits snugly in the screw head and reduce your drill’s torque setting. If screws consistently strip, you might be using the wrong size or type for your material.
How to Fix a Loose Chipboard Screw
For a quick fix, remove the screw, apply wood glue to the hole, insert wooden toothpicks or matches, let dry, then re-drive the screw. For a more dependable repair, drill out the hole and glue in a wooden dowel before re-fixing.
Preventing Screws from Snapping During Installation
Snapping typically results from driving at an angle or forcing screws into too-small pilot holes. Keep your drill straight, use sharp bits, and don’t force screws that meet unexpected resistance.
Professional Tips for Optimal Results
Recommended Tools and Equipment
Invest in quality driver bits—they last longer and grip better than cheap alternatives. A cordless drill with adjustable torque settings gives you the control needed for different materials. Keep a selection of pilot drill bits handy for edge work and hardboard applications.
Speed and Torque Settings for Power Drivers
Start with a lower torque setting and increase only if needed. Medium speed works best for most applications—too fast generates heat that can melt resin in engineered boards, weakening the joint. Practice on scrap material to find the sweet spot for your specific combination of screws and boards.
Conclusion: Getting the Most From Your Chipboard Screws
Choosing and using chipboard screws correctly isn’t complicated once you understand the basics. The right screw size, appropriate installation technique, and a bit of care during driving will give you strong, lasting joints every time. Remember to match your screw selection to both your material and environment—there’s no point using indoor screws on that outdoor project!
Whether you’re assembling flat-pack furniture, building custom cabinetry, or tackling a renovation project, these versatile fasteners will serve you well when used properly. Take the time to select the right type, use appropriate techniques, and don’t rush the installation process.
Now you’ve got the knowledge to achieve professional results with your chipboard screws. So grab your drill, pick up the right fasteners for your next project, and get stuck into creating something brilliant. Your joints will be tighter, your assemblies stronger, and your projects more satisfying than ever before. Happy building!